 Like many, I feel completely exhausted after the holidays. I love the winter holiday season but it truly does know how to wipe a person out. I feel like ever since Halloween in October it has been non-stop craziness preparing for whatever festivity comes next. If the typical holidays are not enough, the addition of my daughter now fills January with two more celebrations I never had to plan for before. January 17th is my daughter’s name day and January 24th is her birthday. For those that do not know, a name day is a Greek tradition of celebrating the name of the Christian saint you are named after on that saint’s feast day. So now that all of those celebrations have since passed, I finally feel some ease until Easter but it has left me extremely fatigued. It is so bad I hardly feel like doing anything each day, but of course we all know that is not possible with a 2 year old and 100 pounds of med school homework.
 Since my energy has been sapped as of late it has really took its toll on my baking hobby. When I do manage to summon enough energy to cook outside of making breakfast, lunch, and dinner for my family it needs to be something that isn’t too strenuous. I always used to be against taking baking shortcuts but now that I am a mom and full-time student, any shortcut I can find that still tastes good is acceptable. I even recall as a teen trashing my grandfather’s shortcut cookie recipe that he made with a boxed cake mix. After they were made he had me try one. They were of course delicious and it was then he told me something that has stuck to this day. He said, “As long as you know you can make it from scratch and have it taste good, it doesn’t hurt to take a shortcut every once and awhile.” This has been my motto as of late. I know I can make great cookies from scratch and have done so since I was old enough to see over the kitchen counter, so it doesn’t hurt to take a shortcut when I need one. This recipe is one of those shortcuts.
 The reason this recipe is considered a short cut is because it uses store bought sugar cookie dough. If you are completely against the idea of anything store bought, you can make your own batch of sugar cookie dough as I have also done when I have more time and energy, just be sure your sugar cookie recipe produces about 2 pounds of dough. I prefer to take the shortcut method with these cookies though because they are rather involved compared to others already and making your own sugar cookie dough will make the process that much longer. I know anyone with a busy lifestyle will surely appreciate this shortcut method that not only takes less time but is also a special, elegant looking cookie.
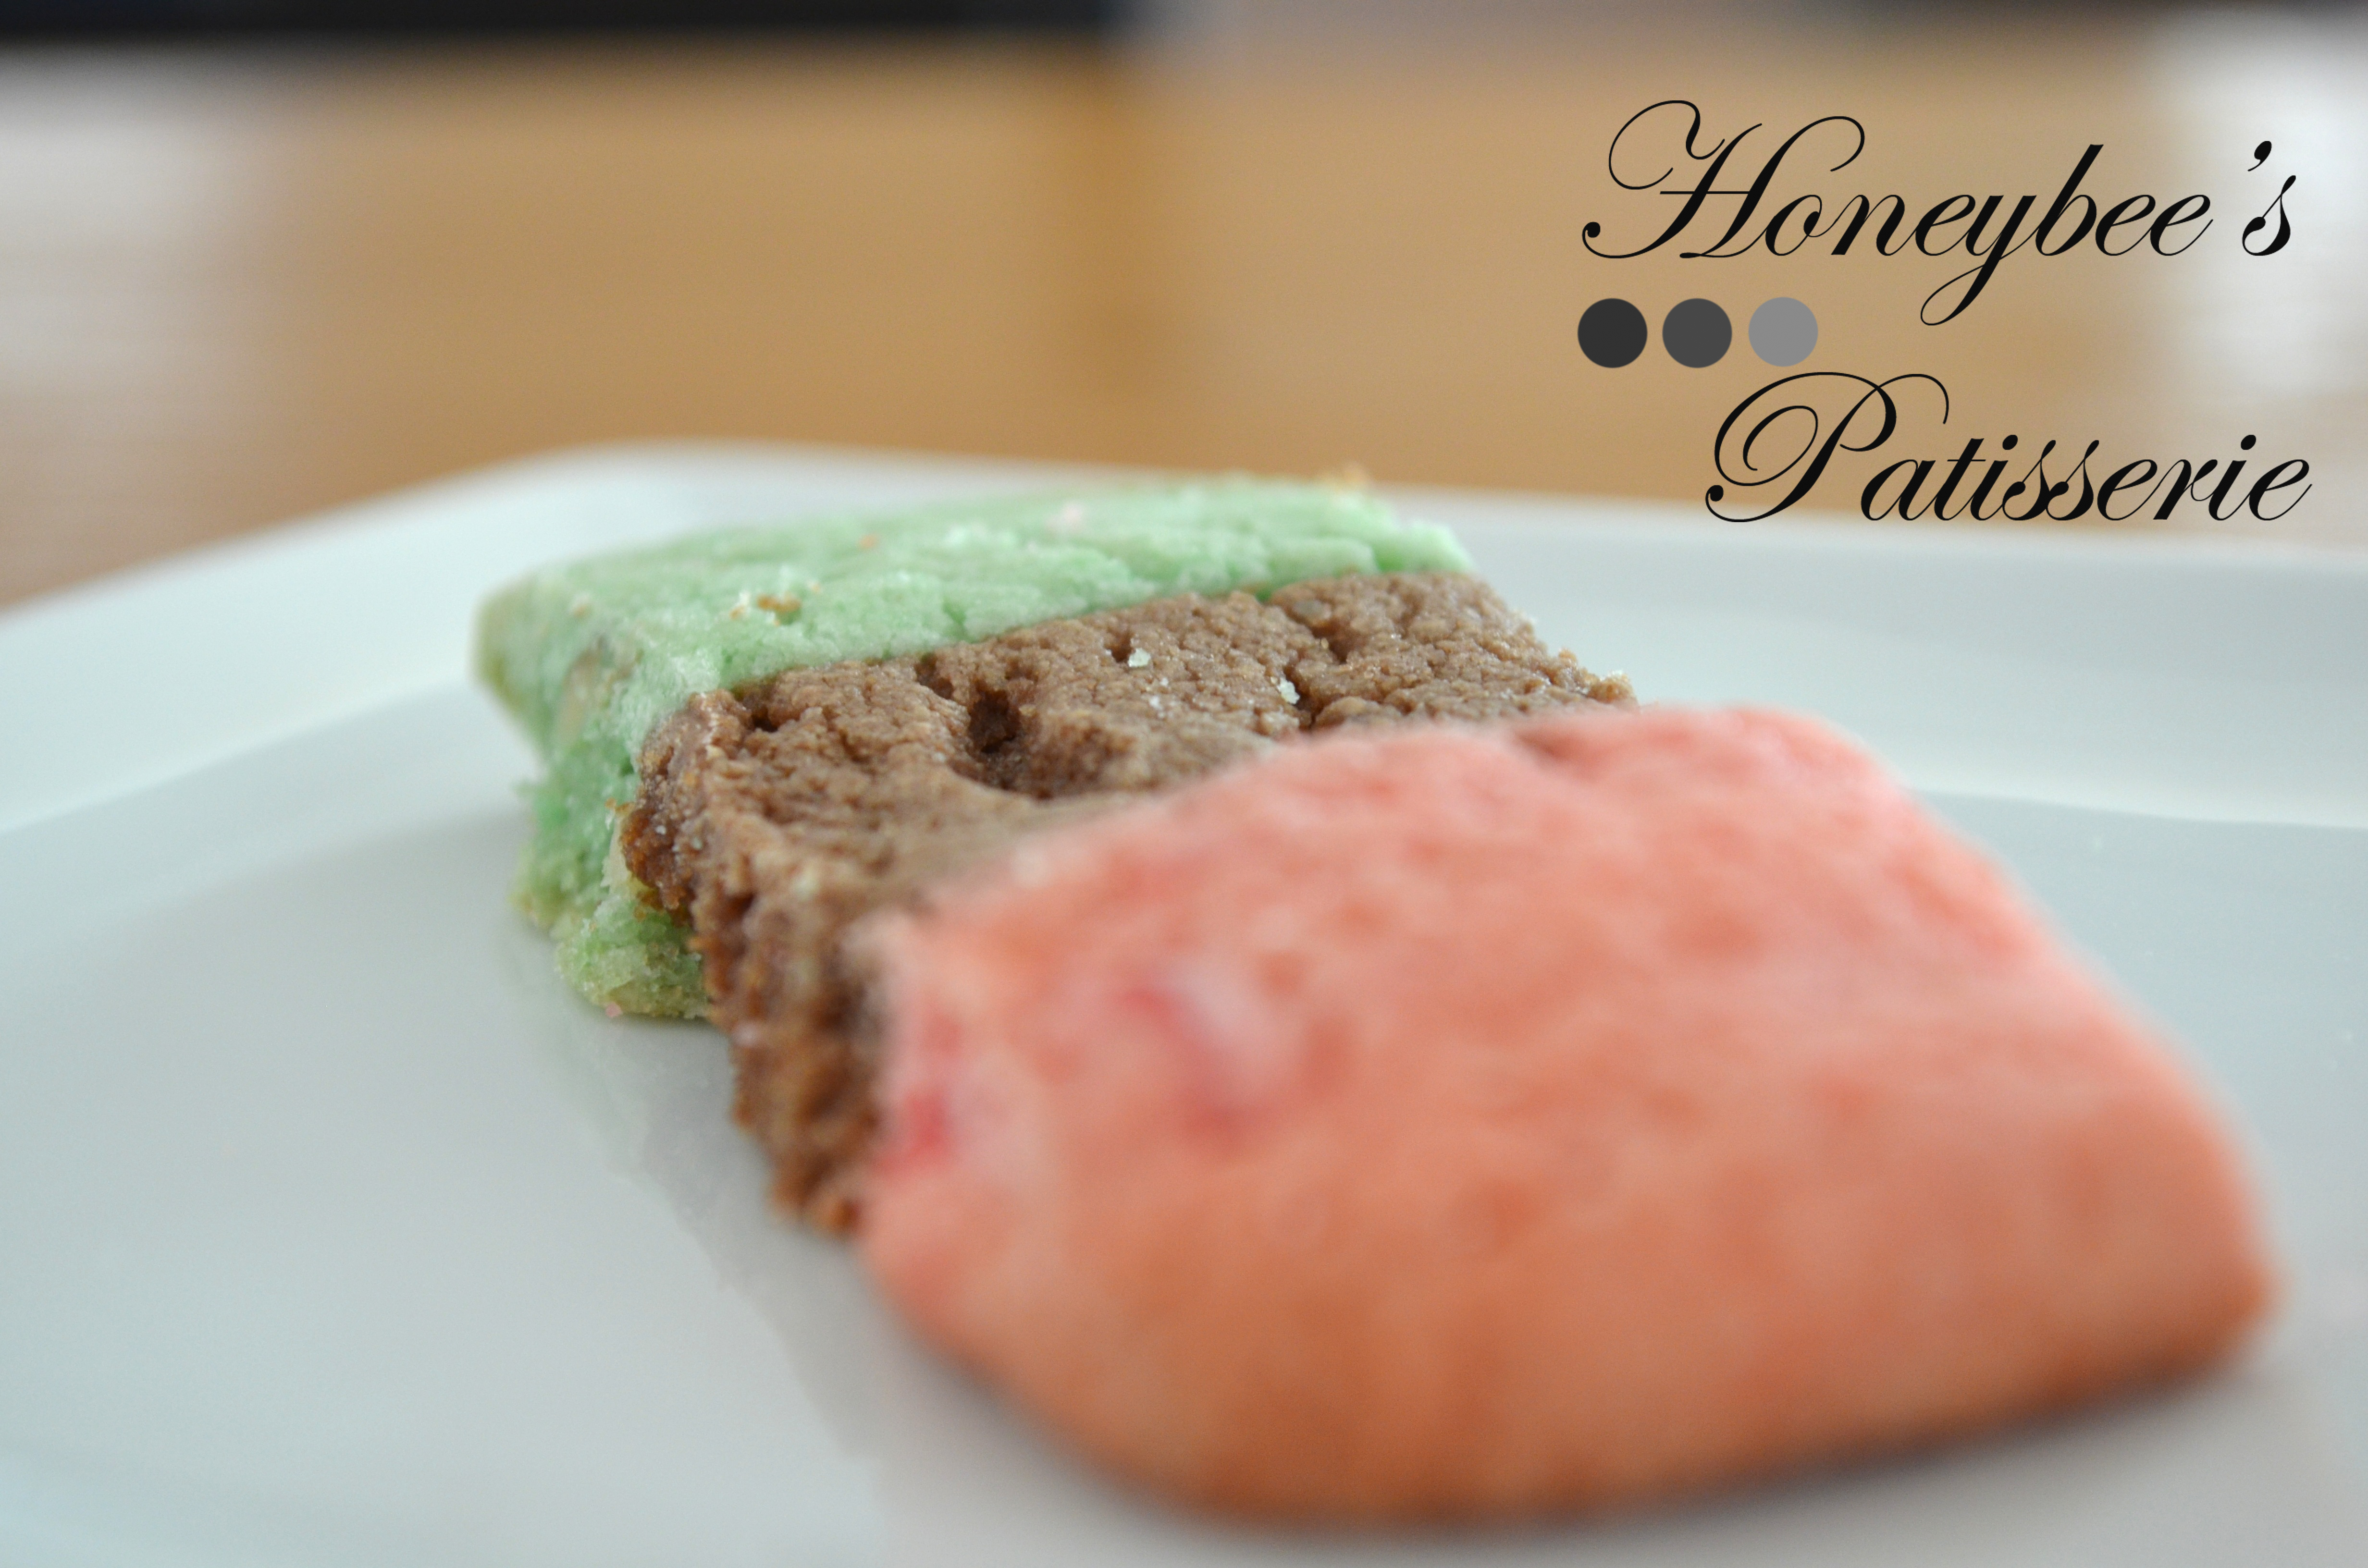
 What makes these cookies so impressive are the three different layers of color and flavor. This is the spumoni influence on the cookie. Spumoni originates in Italy and is traditionally found as ice cream. Spumoni is relative to Neapolitan, with three flavors, traditionally being chocolate, pistachio, and cherry. I do not care for pistachios so I altered the traditional make-up and used walnuts instead. You can certainly swap out an equal amount of pistachios for the walnuts in this recipe. Even though Spumoni has pretty much disappeared in Italy, it is still much loved in the U.S. with good reason. Give them a try and have a taste of forgotten Italy.
Note: These cookies use three separate doughs merged into one to make the tri-colored appearance. I roll the dough into ropes, place them alongside each other, and roll flat with a rolling pin to merge the dough. You can also roll out each dough ball into equal length and thickness then stack the dough on top of each other and slice with a sharp knife to get a similar effect. Whichever method you choose, be sure to chill the dough slightly to make it easier to get uniform cookies. This recipe produces approximately 3 dozen cookies.
Spumoni Cookies
Ingredients:
- 2 (16 oz.) tubes Refrigerated Pillsbury Sugar Cookie Dough
- 1 cup All-Purpose Flour
- 12 Maraschino Cherries; drained, stemmed, & chopped fine
- ¼ cup Walnuts; toasted & chopped fine
- ¼ cup Semisweet Chocolate Chips; melted & slightly cooled
- Red & Green Food Coloring
Formula:
- Remove cookie dough from refrigerator and allow it to come to room temperature, approximately 1 hour. Place both tubes of cookie dough into the bowl of a stand mixer. Add ¾ cup of flour and mix on low until combined. Separate dough into three equal portions and place one portion back into the bowl of the stand mixer. Add the remaining ¼ cup of flour to the dough portion in the mixer bowl. Mix until just incorporated. Add 5 drops of red food coloring and chopped cherries to the dough. Mix until well combined. Shape the dough into a ball and set aside.
- Wipe out the same mixing bowl and place back on the stand mixer. Add the second portion of dough to the mixer bowl. Add 5 drops of green food coloring and the chopped walnuts. Mix until well combined. Shape dough into a ball and set aside.
- Wipe out the same mixing bowl one last time and place back on the stand mixer. Add the final portion of dough to the mixer bowl. Add the melted chocolate to the dough and mix until well combined. Shape dough into ball. Wrap all three dough portions in plastic wrap and refrigerate until slightly firm, approximately 10 minutes.
- Preheat oven to 375°. Line two baking sheets with parchment paper and set aside. Divide each chilled dough portion in half. On a lightly floured surface, roll each dough half into a 12 inch rope. Place 1 rope of each color side by side on the floured surface and gently press together. Refrigerate ropes until slightly firm, approximately 10 minutes. Remove chilled ropes from refrigerator and on a floured surface, use a rolling pin to flatten the cookies and merge the dough ropes together. Once rolled, use a knife to cut 1 inch wide cookies. Place cookies on the prepared baking sheets about 1 inch apart. Repeat until all dough is used and refrigerate for 10 to 15 minutes.
- Bake chilled cookies until set but not browned, approximately 12 to 14 minutes. Be sure to rotate baking sheets halfway through cooking time for even baking. Cool cookies on the baking sheet for approximately 5 minutes, then transfer cookies to a cooling rack to cool completely. Cookies can be stored for approximately 1 week.
RECIPE ADAPTED FROM: DONNA BARDOCZ
PHOTOGRAPHY & STAGING: PETER MENDOROS
ALL REMAINING CONTENT © HONEYBEE’S PATISSERIE 2015


Nice bblog you have
LikeLike